


Best Practices for React Native in 2023 are your map to navigate the evolving cross-platform ecosystem, unlocking stellar performance and unrivaled user experiences.
If you’re a mobile app developer, you’re familiar with the challenges of building efficient, scalable, and high-quality applications.
Fortunately, React Native is an excellent solution for creating native apps that work seamlessly across multiple platforms. However, to reap the full benefits of this framework, you need to use it correctly.
A Brief History: From Facebook’s Internal Project to Global Sensation
React Native was first introduced by Facebook in 2015 as an internal project to improve their mobile apps’ performance. The company soon realized its potential beyond its needs and decided to open-source it in March 2015 during the F8 conference.
This move attracted the developer community’s attention and sparked a wave of excitement within the tech industry. Over the years, React Native has evolved rapidly thanks to an enthusiastic community contributing to its growth.
Numerous updates have been released, introducing enhanced features and improved performance optimizations. It is one of the leading frameworks for building cross-platform mobile applications today.

The Advantages of Using React Native for Mobile App Development
React Native offers several distinct advantages that make it a preferred choice for mobile app development:
Code Reusability: One of the most significant advantages of React Native is its ability to reuse code across multiple platforms without compromising native-like performance or user experience.
With a single codebase written in JavaScript, developers can build apps for iOS and Android simultaneously, saving time and effort.
Hot Reloading: React Native’s hot reloading feature allows developers to see real-time app changes without needing a complete rebuild. This significantly speeds up the development process, making it easier to iterate and experiment with different UI components.
Third-Party Library Ecosystem: React Native boasts a vast ecosystem of third-party libraries and pre-built components that can be easily integrated into your app.
This eliminates the need to reinvent the wheel, enabling developers to leverage existing solutions for standard functionalities like maps, animations, or image processing.
Performance: Despite being a JavaScript framework, React Native can deliver impressive performance by utilizing native APIs on each platform.
It achieves this through its bridge architecture that communicates between JavaScript code and native components, ensuring smooth interactions and rendering.
React Native presents an exciting opportunity for mobile app development due to its versatility, code reusability, hot reloading capabilities, extensive library ecosystem, and impressive performance optimizations.
Here’s a table summarizing the advantages of using React Native for mobile app development:
| Advantages of Using React Native | Description |
|---|---|
| Code Reusability | Allows code reuse across multiple platforms without compromising performance or user experience. |
| Hot Reloading | Offers real-time app changes without needing a complete rebuild, speeding up the development process. |
| Third-Party Library Ecosystem | Boasts a large ecosystem of third-party libraries and pre-built components for easy integration. |
| Performance | Delivers impressive performance by utilizing native APIs on each platform through its bridge architecture. |
With these advantages at your disposal, you’ll be equipped to create remarkable cross-platform applications that leave users in awe of their seamless functionality on both iOS and Android devices.
Setup and Project Organization
Proper project setup and organization are crucial for efficient development in React Native. As you begin your project, follow the steps below to ensure a smooth development process.
Step 1: Install React Native
Before you can start working on your project, you must have React Native installed. This can be done using the Node Package Manager (npm) with the following command:
npm install -g react-native-cli
Once React Native is installed globally, you can create a new project by running the following command:
react-native init project_name
Step 2: Project Structure
When setting up your project structure, you should organize your files and directories in a way that makes sense for your application. One recommended approach is to separate your code into three categories:
- Components: These are the building blocks of your application. Organize them by feature or functionality.
- Screens: Screens are composed of one or more components and represent the different pages of your application. Organize them by feature or functionality as well.
- Services: These handle external APIs, local data storage, and other application-specific logic. Organize them by functionality or resource.
Creating these subdirectories within your project’s root directory and organizing your files accordingly will make finding and maintaining your code more accessible.
Step 3: Using Git for Version Control

Using a version control system like Git allows for collaborative development and helps keep track of changes made to your project. To use Git with your React Native project, follow these simple steps:
- Initialize a new Git repository in your project’s root directory with the following command:
git init - Create a new remote repository on a service like GitHub or Bitbucket.
- Connect your local repository to the remote repository with the following command:
git remote add origin remote repository URL - Commit your changes with the following command:
git add . && git commit -m "Initial commit" - Push your changes to the remote repository with the following command:
git push -u origin master
Following these steps will ensure that your project is organized and structured efficiently, enabling you to focus on developing high-quality mobile applications using React Native.
Component and State Management
Creating reusable components and managing the state properly is crucial for building robust and scalable React Native applications.
Here are some best practices to keep in mind:
1. Create Reusable Components
When building a React Native application, it’s essential to create reusable components that can be used multiple times in different parts of the application. Doing so can avoid duplicating code and ensure consistency in your UI design across the app.
Here are some tips on creating reusable components:
- Keep components small and focused: A well-designed component should have a single responsibility and be reusable in different contexts. Large and complex components can be challenging to maintain and reuse.
- Use props to customize components: Props allow you to pass data and behavior to child components. By using props, you can create more flexible and customizable components.
- Organize components in a logical structure: Group related components in the same directory and create a straightforward naming convention to make finding and using them more accessible.
By following these best practices, you can create reusable components that are easy to maintain and can be used in different application parts.
2. Manage State Effectively
State management is an essential part of React Native development. It allows you to update the UI based on user interactions and changes in data.
Here are some tips on managing the state effectively:
- Avoid global state: Global state can make your application harder to reason about and lead to unexpected behavior. Instead, try to keep the state local to the component that needs it.
- Use setState() to update state: When updating the state, always use setState() instead of directly modifying the state. Directly modifying the state can lead to inconsistent behavior and difficult-to-debug issues.
- Use Redux for complex state management: If your application requires complex state management or data flow, consider using Redux. Redux provides a centralized state management solution that can simplify your application’s architecture.
By following these best practices, you can effectively manage the state of your React Native application and ensure that your UI stays up-to-date with the latest data.
Styling and Theming
Consistent styling and theming are crucial to delivering an appealing user interface for your React Native application. Implementing best practices in this area will also ensure the maintainability and scalability of your codebase.
Styling Components
React Native provides several ways to apply styles to components, including stylesheets and inline styles. Using stylesheets to maintain a consistent styling approach across your application is recommended.
When defining styles for components, use descriptive class names or IDs that indicate the purpose or function of the component. This will help in understanding the codebase and make it easier to maintain.
Another best practice is using variables to define colors, font sizes, or other reusable values. This will make implementing consistent styling across components easier and provide a centralized location to make changes.
Implementing Theming
Theming enables you to apply a consistent design system across your application. Instead of hard-coding specific colors or font sizes, you can use a theme object that contains all the styling values. This makes it easier to update the design system and maintain consistency across all components.
To implement theming, define a theme object containing styling values and apply it to your components using a context provider. This will make the theme accessible to all components in the component tree.
Example:
| Example Code: | |
|---|
In the above example, we first define a theme object that contains color, primary color, and font size values. We then use the ThemeProvider context provider to provide the theme object to all components in the component tree. This allows the components to access the theme values using the useContext hook.
Performance Optimization
Optimizing your React Native application’s performance is crucial for a smooth user experience.
1. Use FlatLists and VirtualizedLists for Long Lists
When rendering long lists in your application, use FlatLists or VirtualizedLists to improve performance. These components render only the items currently visible on the screen, making it much more efficient than rendering the entire list simultaneously.
2. Avoid Unnecessary Re-renders
Minimizing unnecessary re-renders is crucial for optimizing your application’s performance. Use shouldComponentUpdate() or React.memo to prevent components from re-rendering unnecessarily. Additionally, avoid rendering components that are not visible on the screen.
3. Optimize Images and Media
Images and media often take up significant memory, slowing down your application’s performance. Reduce the size of images and videos as much as possible without sacrificing quality. Use tools like react-native-fast-image or react-native-image-re sizer to optimize images and improve performance.
4. Use Native Modules and Components
React Native provides many built-in native modules and components that can significantly enhance your application’s performance. These modules allow you to access native APIs and perform tasks impossible with JavaScript alone.
5. Minimize Bundle Size
Large bundle sizes can significantly slow your application’s performance, especially on internet connections. Use tools like react-native-bundle-optimizer to minimize your application’s bundle size and improve performance.
6. Profile and Monitor Performance
Profiling and monitoring your application’s performance is essential for identifying and addressing performance bottlenecks. Use tools like the React Native debugger, React Native Performance Monitor, or Chrome DevTools to monitor your application’s performance and identify improvement areas.
Handling Network Requests and Data Persistence

Efficiently handling network requests and persisting data are standard requirements in mobile applications. In React Native, various libraries and approaches are available to achieve these tasks. Here are some best practices to consider:
Making Network Requests
When making network requests, it is essential to handle errors and cancellations appropriately. Additionally, it’s a good practice to implement request cancellation when a component unmounts to prevent memory leaks.
Libraries like Axios and the built-in fetch API provide features to support cancellation and error handling.
It’s also essential to optimize network requests, which can be achieved using techniques like caching, debouncing, and batching.
Caching responses can enhance app performance by reducing the number of network requests while debouncing and batching can help avoid repeated network requests and improve user experience.
Libraries like React Query and SWR provide optimized solutions for handling network requests and caching data.
Implementing Data Persistence
One common requirement in mobile applications is the ability to persist data locally to reduce network requests and enhance offline capabilities. In React Native, several libraries can help achieve this, such as AsyncStorage, redux-persist, and WatermelonDB.
When implementing data persistence, it’s essential to determine the data that needs to be stored locally and design the data schema accordingly. It’s also crucial to handle persistence errors and conflicts to avoid data inconsistencies. Libraries like redux-persist and WatermelonDB provide features to handle these situations.
It’s worth noting that data encryption is crucial when dealing with sensitive data. Libraries like react-native-sensitive-info provide a secure way to store sensitive data locally.
Testing and Debugging
Proper testing and debugging are essential for ensuring the stability and reliability of your React Native applications. Following best practices, you can identify and resolve issues before they impact the user experience. Here are some recommended approaches for testing and debugging:
1. Unit Testing Components
Unit testing is a commonly used approach for testing individual components in isolation. It involves testing the functionality of each component to ensure it behaves as expected and integrates seamlessly with other components in the application.
One of the most popular testing frameworks for React Native is Jest. Jest offers a range of testing utilities, including test runners, matches, and spies. It also integrates seamlessly with other testing libraries, such as Enzyme, which provides testing tools for React components.
2. Debugging Common Issues
Debugging is a critical component of the development process, helping you identify and resolve issues in your code.
React Native provides a range of tools for debugging your applications, including the React Native Debugger, which is a standalone debugging tool that provides a range of features, including the ability to inspect and modify the application state, track network requests, and debug JavaScript remotely.
Another useful debugging tool is the Flipper debugger, which provides a plugin-based architecture for debugging applications. It also offers a range of plugins for debugging network requests and logging application data.
3. Integration Testing
Integration testing is the process of testing how components work together in the application. This type of testing is essential for detecting issues that can arise when multiple components interact.
Some popular integration testing frameworks for React Native include Detox and Appium.
Detox is a gray-box end-to-end testing framework that enables you to simulate user interactions and test the application’s behavior.
Appium is a cross-platform testing framework supporting various programming languages and frameworks.
4. Error Reporting
Even with extensive testing and debugging, errors can still occur in your application. By implementing error reporting, you can detect and diagnose issues in your application and take corrective action.
Sentry is one of the most popular error-reporting tools for React Native. It integrates seamlessly with the application and provides a range of features, including tracking application errors, alerting developers to issues, and enabling real-time monitoring of application performance.
Security Considerations

Security is a critical aspect of mobile application development. As a React Native developer, you must ensure your application is secure from threats and vulnerabilities. Here are some best practices for maintaining the security of your React Native applications:
- Avoid storing sensitive information in plain text: You must encrypt sensitive information like passwords, API keys, and session tokens. Use secure storage mechanisms to protect the information from attacks.
- Ensure secure communication: Use HTTPS for all network requests and implement certificate pinning to prevent MITM attacks. You must also avoid using third-party libraries that contain security vulnerabilities.
- Implement proper authentication and authorization: Implement a robust authentication mechanism like two-factor authentication, biometric authentication, or OAuth 2.0. Use proper authorization techniques to restrict access to sensitive information.
- Update dependencies regularly: Always keep your dependencies updated to avoid potential security vulnerabilities. Use package managers like npm to manage your dependencies efficiently.
- Obfuscate the code: Use code obfuscation techniques to avoid reverse engineering and protect your code from attackers.
- Perform regular security audits: To identify any security vulnerabilities and take necessary steps to fix them, perform regular security audits.
By following these security best practices, you can ensure that your React Native application is secure and protected from potential threats. However, staying updated with the latest security trends and news is essential to keep your application secure in the long run.
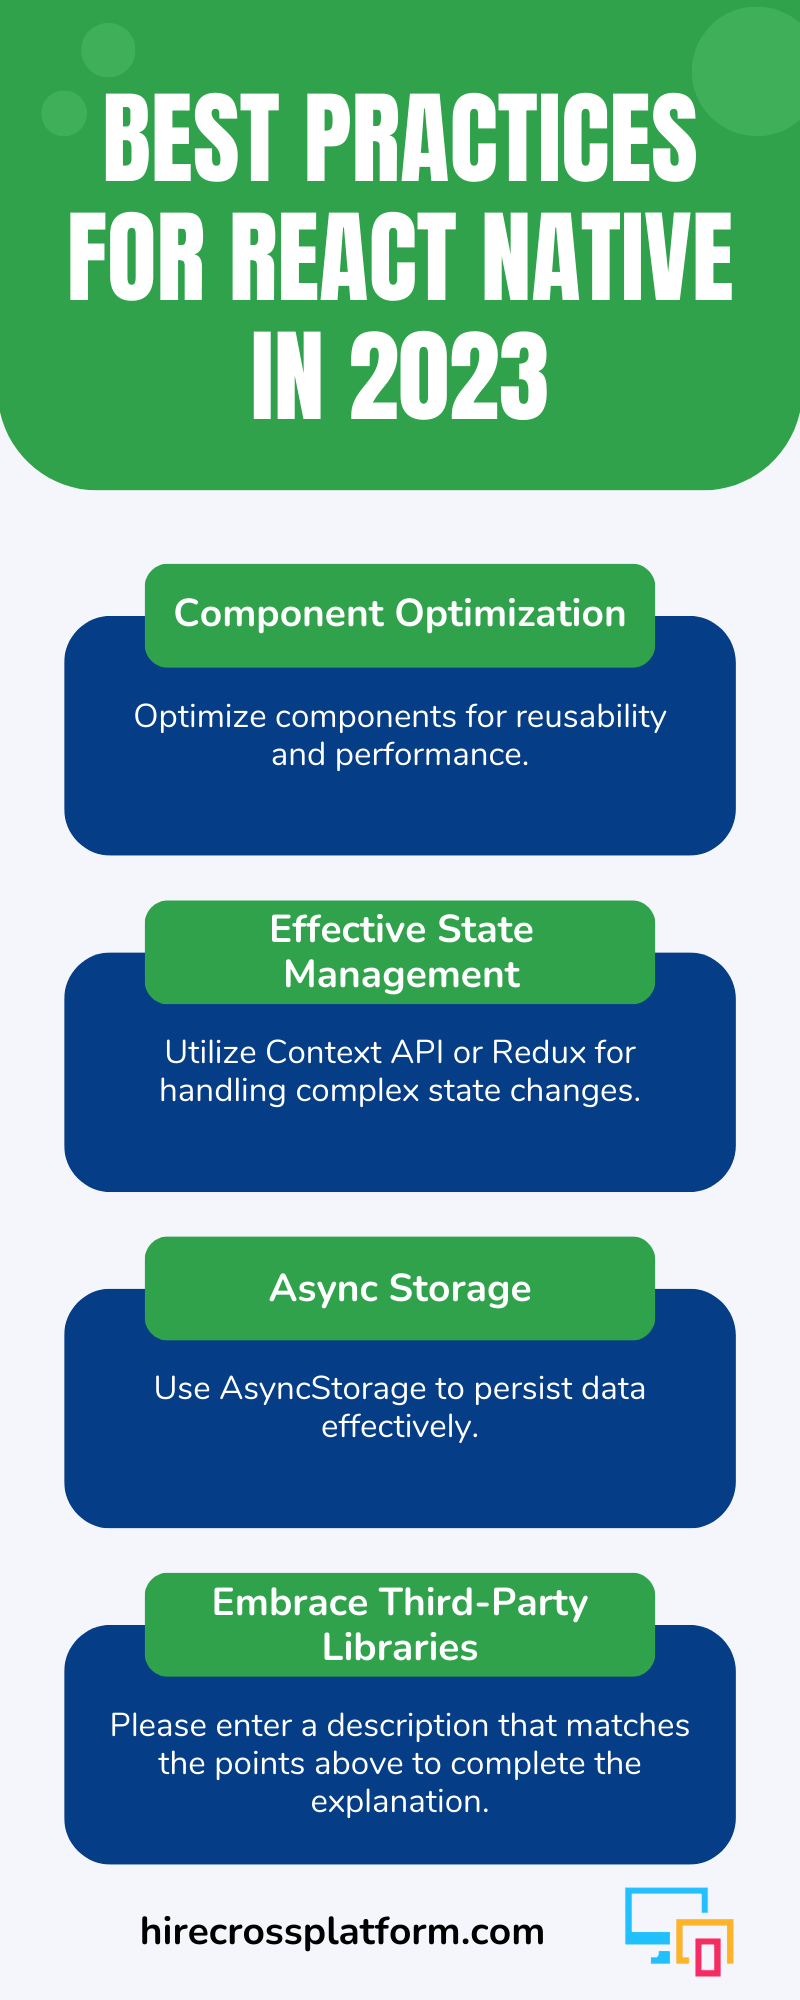
Best Practice 1: Use Components Smartly
In React Native, components are like Lego blocks. They’re fun to play with, and you can build anything. But intelligent people follow a plan.
Let’s look at a neat way to construct our Lego city: Functional Components. They are short, clean, and straightforward. No mess, no fuss.
function Welcome(props) {
return <h1>Hello, {props.name}</h1>;
}
Here, we define a function that accepts an object called props and returns a React element. This function is a valid React component. With these, we can build a neat and maintainable codebase, as every piece does one thing only.
Key Takeaway
Components are your friends. Treat them well, and they’ll do wonders for your application.
Exemplify
Imagine building a Lego city with each block labeled and designed for a single purpose. Easier to handle, right?
Pro Tip
Split your application into as many functional components as possible. Each should perform a single function.
Best Practice 2: Keep Data Flowing in One Direction
Here’s a question: do rivers flow better when they go one way or change direction? Hint: it’s not the second one.
In React Native, data should flow in one direction, from parent components to child components. This model, known as “Unidirectional Data Flow,” keeps our application predictable and easier to understand.
<ParentComponent>
<ChildComponent data={this.state.data}/>
</ParentComponent>
Here, we have a parent component passing data to its child. This makes it easier to track where our data comes from and where it goes.
Key Takeaway
Unidirectional data flow makes our applications more predictable and easier to debug.
Exemplify
Think about traffic. One-way streets are easier to navigate and less prone to accidents, aren’t they?
Pro Tip
Data always flows in one direction when using state management libraries like Redux.
Best Practice 3: Understand Async Storage
Folks, here’s a tip from someone in the trenches: Async Storage will save your life, one data piece at a time.
Asynchronous Storage, or Async Storage, is a local storage system in React Native. It lets you store and retrieve data even after the app restarts.
import AsyncStorage from '@react-native-async-storage/async-storage'; hhhhhhhhhh
const storeData = async (value) => {
try {
await AsyncStorage.setItem('@storage_Key', value)
} catch (e) {
// save error
}
}
In this code, we save a value in Async Storage. If we close the app, the data remains. When we reopen the app, the data is there, waiting patiently.
Key Takeaway
Async Storage is your memory keeper. Use it wisely, and your app will remember everything.
Exemplify
Imagine if we forgot every task after finishing it. Life would be chaos, wouldn’t it? Async Storage prevents that chaos in your app.
Pro Tip
Only store data that you need to persist between app launches. Don’t clutter your storage.
Best Practice 4: Embrace Third-Party Libraries
Folks, let’s face it. Ideally, we’d build every component from scratch to ensure perfection. But time, just like a good bottle of whiskey, is a resource we can’t manufacture. Here’s where third-party libraries step in.
React Native community is like a bustling marketplace. An open-source goldmine, where countless developers share components, functions, and whole libraries to make your life easier. Think about it: why reinvent the wheel when you can get a well-crafted one for free?
Here’s an example of using React Navigation, a popular library for in-app navigation.
import { NavigationContainer } from '@react-navigation/native';

function App() {
return (
<NavigationContainer>{/* Rest of your app code */}</NavigationContainer>
);
}
Key Takeaway
Third-party libraries are lifesavers. Use them to save time and enhance your app’s functionality.
Exemplify
Imagine building a car. Would you start by crafting tires, pick some off the shelf, and focus on the engine instead?
Pro Tip
Remember, not all third-party libraries are created equal. Always choose ones with active maintainers, good community support, and a robust number of downloads.
Best Practice 5: Leverage Hooks
Managing state and side effects becomes a Herculean task as your app grows. Hooks, introduced in React 16.8, are your saviors. They let you use state and other React features without writing a class.
import React, { useState } from 'react';

function Example() {
const [count, setCount] = useState(0);

return (
<div>
<p>You clicked {count} times</p>
<button onClick={() => setCount(count + 1)}>
Click me
</button>
</div>
);
}
This useState Hook is a new way to add a state to a function component. Hooks make your components cleaner and easier to test.
Key Takeaway
Hooks empower your function components with capabilities previously reserved for class components.
Exemplify
Imagine if an ordinary soldier could gain the abilities of a special forces operative. That’s what hooks do to your function components.
Pro Tip
Transition your class components to function components and use hooks wherever possible. The future of React is functional.
Best Practice 6: Write Testable Code
Quality code isn’t just about delivering features. It’s also about making sure those features work as expected. Testing ensures just that.
When crafting components, make sure they’re easy to test. Use a testing framework like Jest, and a library like React Testing Library, to simulate user actions and verify outcomes.
import { render, fireEvent } from '@testing-library/react-native';
import App from './App';

test('clicking button increments count', () => {
const { getByText } = render(<App />);
const button = getByText('Click me');

fireEvent.press(button);
fireEvent.press(button);

expect(getByText('You clicked 2 times')).toBeTruthy();
});
Key Takeaway
Write testable code. Your future self, your team, and your users will thank you.
Exemplify
An app without tests is like a car without brakes. You can still drive it, but would you risk it?
Pro Tip
Follow Test Driven Development (TDD). Write tests before code. It helps you design better software architecture.
Expert Secret 1: Utilize Inline Requires
Let’s talk about efficiency. Importing assets at the top of your files might seem like a best practice. Yet, for larger apps, Inline Requires can be your secret weapon. By delaying the evaluation of the required module until it’s used, your app’s startup time can dramatically decrease. Imagine making a pot of coffee only when you need it, not first thing in the morning.
const MyComponent = () => {
const Picture = require('./path_to_picture');
return <Picture />;
};
Expert Secret 2: Learn the Art of Debouncing and Throttling
User inputs can be demanding. Imagine someone furiously typing in a search bar, triggering a new request with each keystroke. To manage such situations, learn debouncing and throttling.
These techniques delay the processing of keystrokes to manage resources efficiently, like spacing out the letters while speaking to a large audience.
Expert Secret 3: Master the Bridge Concept
React Native operates using a JavaScript and Native bridge. Understanding this bridge and its operations, such as passing data between Native and JavaScript threads, can give you a significant edge. Mastering the bridge is like mastering communication in a foreign country.
Expert Secret 4: Know Your Animations
React Native offers two types of animations: Animated and layout animation. Each has its strengths and weaknesses, and knowing when to use it can drastically improve your app’s performance. It’s like knowing when to walk, run, or sprint.
Expert Secret 5: Go Beyond React Native
React Native has limitations. Experts acknowledge these and aren’t afraid to go beyond. Learning Native technologies such as Swift, Kotlin, or Java helps bridge gaps when React Native falls short. It’s like a chef not limited to recipes venturing into uncharted culinary territories.

 6: Remember, React Native is Evolving
Stay updated with the latest developments in the React Native community. Regularly reading their GitHub discussions, attending meetings, or joining their Discord channel can provide insights into upcoming features and enhancements.
It’s like tuning in to industry rumors to stay ahead of the competition.
Common Problems and Solutions

Let’s delve into some common issues developers often encounter with React Native and discuss how to address them.
Poor App Performance
This is a common issue that many developers face when working with React Native. Over-reliance on JavaScript, heavy computations, unnecessary re-renders, or misuse of libraries can lead to sluggish app performance.
Solution: Implement proper component lifecycle management, use memoization techniques, and employ PureComponent or shouldComponentUpdate to prevent unnecessary re-renders. For heavy computations, consider offloading them to the native side or using Web Workers.
import React, { PureComponent } from 'react';
class MyComponent extends PureComponent {
shouldComponentUpdate(nextProps, nextState) {
return nextProps.data !== this.props.data;
}
render() {
return (
<View>{/* Component details here */}</View>
);
}
}
Pro Tip: Use profiling tools like React Profiler, Hermes, or why-did-you-render to find performance bottlenecks.
State Management Complexity
As applications scale, managing state becomes more complex, leading to bugs, inconsistency, and unmanageable code if not handled properly.
Solution: Leverage state management libraries like Redux or MobX, or use the Context API and React Hooks for smaller applications. These tools provide a structured approach to managing the application state.
import { createStore } from 'redux';
import rootReducer from './reducers';
const store = createStore(rootReducer);
Pro Tip: Do not put everything in your state. Only the minimum amount of data needed for the app to run should be included.
Inefficient Debugging
Many developers find it challenging to debug React Native applications due to the mix of native and JavaScript code.
Solution: Familiarize yourself with various debugging tools. React Native Debugger integrates React DevTools and Redux DevTools. For native code issues, use XCode or Android Studio debuggers.
// Enable live reload
if (__DEV__) {
NativeModules.DevSettings.setLiveReloadEnabled(true);
}
Pro Tip: Hot reloading can sometimes lead to false-positive errors. When debugging complex issues, disable it.
Remember, knowing how to handle common pitfalls is just as important as understanding the best practices. Always keep exploring, learning, and honing your skills.
Frequently Asked Questions (FAQs)

As a React Native developer, you might encounter common questions or challenges while developing your application. Here are some frequently asked questions and their answers to help you overcome any misconceptions and confidently move forward.
What is the difference between React and React Native?
React is a JavaScript library for building web applications, while React Native is a framework for developing mobile applications that can run on iOS and Android platforms.
React Native uses the same programming principles as React but is optimized for mobile development and provides additional components for mobile app development.
Can I use React Native for web development?
React Native is a framework for developing mobile applications unsuitable for web development. However, you can use React for web development, and the knowledge and skills you gain from React can be applied to React Native development.
What are the best practices for organizing my React Native project?
Proper project organization is essential for efficient development. We recommend organizing your project based on its type and the application’s business logic.
You can separate the code into components, containers, actions, reducers, and services for better organization.
Using a modular folder structure to split your code into small and reusable modules is also recommended.
How can I optimize the performance of my React Native application?
To optimize the performance of your React Native application, you can use techniques such as lazy loading, code splitting, and image optimization. You can also use React Native’s performance optimization tools, such as the Profile and Systrace tools, to analyze your application’s performance and identify bottlenecks.
How do I handle network requests in React Native?
You can use the built-in fetch API or third-party libraries such as Axios and Request to handle network requests. Using middleware such as Redux Thunk or Saga is recommended to manage asynchronous operations and handle errors effectively.
What are the security concerns in React Native development?
Mobile applications are vulnerable to various security threats, such as data breaches and privacy violations.
To ensure the security of your React Native application, you should follow security best practices such as using SSL encryption, avoiding storage of sensitive data on the device, and implementing authentication and authorization mechanisms.
It is also recommended to use third-party security libraries for secure data storage and network communication.
How do I test my React Native application?
You can test your React Native application using frameworks like Jest and Enzyme. Writing unit tests for individual components, integration tests to verify the interaction between components and modules, and end-to-end tests to simulate real-world scenarios is recommended.
You can also use React Native’s debugging tools, such as the Chrome Debugger, Flipper, and Reactotron, to debug your application and identify issues.
Can I use native modules in my React Native application?
You can use native modules to access platform-specific features such as camera, GPS, and push notifications. React Native provides a bridge that allows you to communicate with native modules using native languages such as Java and Objective-C.
Question: How can I improve my React Native app startup time?
Answer: Leveraging AppLoading from Expo and lazy loading can significantly improve your app’s startup time.
import React, { useState } from 'react';
import { AppLoading } from 'expo';

const App = () => {
const [isLoading, setIsLoading] = useState(true);

if (isLoading) {
return <AppLoading startAsync={loadResources} onFinish={() => setIsLoading(false)} />;
}

return <MainApp />;
};
Pro Tip: Avoid heavy computations or complex logic during startup.
Question: How should I structure my React Native project for scalability?
Adopt a scalable directory structure like organizing by features and separating components, services, assets, and tests.
Pro Tip: Consistent code style and naming conventions enhance code maintainability.
Question: What’s the best way to handle forms in React Native?
Consider using libraries like Formik or React Hook Form that make form handling more straightforward and less error-prone.
import { useForm } from 'react-hook-form';

function App() {
const { register, handleSubmit } = useForm();
const onSubmit = data => console.log(data);

return (
<form onSubmit={handleSubmit(onSubmit)}>
<input {...register("firstName")} />
<input {...register("lastName")} />
<button type="submit">Submit</button>
</form>
);
}
Pro Tip: Consider using ‘Yup’ for complex forms for schema validation.
Question: How can I make my React Native app responsive?
React Native’s Flexbox support and the Dimension API can help design responsive UI. Third-party libraries like react-native-responsive-screen can also be helpful.
Pro Tip: Design with various device sizes in mind and regularly test your application on different screen sizes.
Question: How to handle deep linking in React Native?
React Native supports deep linking out of the box. You can also use libraries like React Navigation for more complex scenarios.
import { Linking } from 'react-native';

Linking.getInitialURL().then((url) => {
if (url) {
console.log('Initial url is: ' + url);
}
}).catch(err => console.error('An error occurred', err));
Pro Tip: Always test deep linking to ensure it works as expected across different platforms.
Question: What is the best way to manage environment variables in React Native?
Libraries react-native-config provide a good way to handle environment variables.
API_URL=https://myapi.comPro Tip: Never store sensitive keys or credentials directly in your codebase. Use .env files and ignore them in your .gitignore file.
Question: How can I handle global styles in React Native?
You can create a global style file using StyleSheet and import it where required.
import { StyleSheet } from 'react-native';

export default StyleSheet.create({
container: {
flex: 1,
justifyContent: 'center',
alignItems: 'center',
},
// Other global styles
});
Pro Tip: Consistency in design improves user experience. Try to reuse styles where possible.
Wrapping Up
Well, folks, there’s a whole world to explore in React Native. We’ve just scratched the surface. But, with these basics and best practices, you’re well on your way.
Remember, every giant leap for mankind started with a small step. This was yours.
Charlotte Williams is a talented technical author specializing in cross-platform app development. With a diverse professional background, she has gained valuable experience at renowned companies such as Alibaba and Accenture. Charlotte’s journey in the tech industry began as a mobile UX designer back in 2007, allowing her to develop a keen understanding of user-centric app design.
Proficient in utilizing frameworks like React Native and Flutter, Charlotte excels in building cross-platform mobile apps and imparting her knowledge to aspiring developers. She pursued a degree in Computer Science at Cornell University, equipping her with a strong foundation in the field. Residing in San Francisco with her three beloved dogs, she finds solace in hiking the hills and connecting with nature. Charlotte’s passion for app development, combined with her dedication to sharing expertise, makes her an invaluable resource in the world of cross-platform app development.
